How to draw a button
In this drawing lesson, you will learn how to draw a button step by step. Hope you enjoy the video, download coloring pages and worksheets for free.
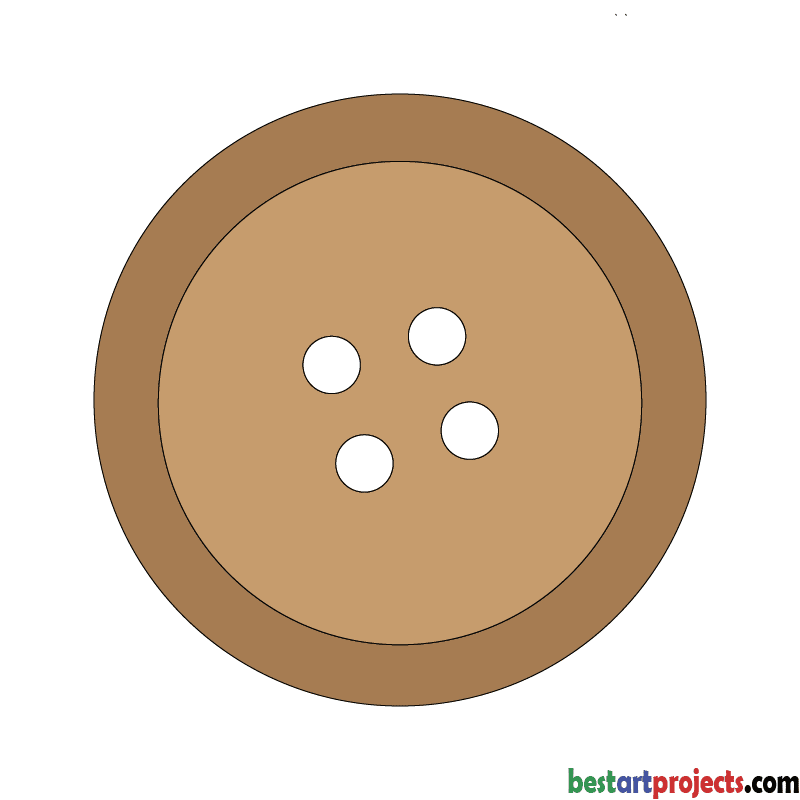
Welcome to bestartprojects.com! With this tutorial today, you will find it easy to learn to draw a button in just a few steps. Button is a type of fastener typically found in apparel, wallets, bags, etc. Buttons used to be made with materials such as seashells, wood or metal in the old days. However, plastic buttons are commonly used in contemporary fashion design. They can be square, oval, and spherical shapes. For this tutorial, we are going to draw a basic button.

Materials you may need to complete this drawing
- Pencil
- Drawing papers
- Coloring supplies (Crayons or colored pencils)
- How to Draw a Button printable worksheet (Please download it at the bottom of the lesson)
Watch ‘How to Draw a Button’ Video Tutorial
Step-by-step guides for drawing a Button.
Step – 1
Draw a circle at the center of the drawing sheet. This is going to outline the button.

Step – 2
Within the circle, you just drew, draw a smaller circle.

Step – 3
Now draw the button holes. Now, in the middle of the button, draw four small circles.

Step – 4
Color the button. Now add lots of colors of your choice to make your button colorful!

The button Coloring page

. I am sure this is one of the simplest tutorials present in bestartprojects.com. All you need to draw this is the ability to draw circles. As always, here’s a printable pdf drawing worksheet for this lesson that you can download below. So, download it and find out!
Download the printable drawing worksheet
For your convenience, we offer a free drawing worksheet for every drawing lesson—made just for you! This fun and friendly guide is perfect for kids who love to draw. It’s filled with simple instructions and lots of space for color practice. It’s not about drawing; it’s about having fun and being creative!!
Save this drawing tutorial on Pinterest

More Drawing Tutorials You Might Like